¶ Monsters & the Bestiary
¶ Encounter Builder
¶ Negotiations
¶ Traps and Triggers
This section will reference information in the Objects article. If you are entirely unfamiliar with Codex Objects, please take a look there first to familiarize yourself with the basics.
A chest that turns into a mimic when looted, an acid trap that fills the corridor, or a poison dart shot from down the hall - we all love a good trap and Codex support an amount of automation for these traps. As of now, trap functionality is somewhat limited to visual effects, but is to be expanded up on in the future.
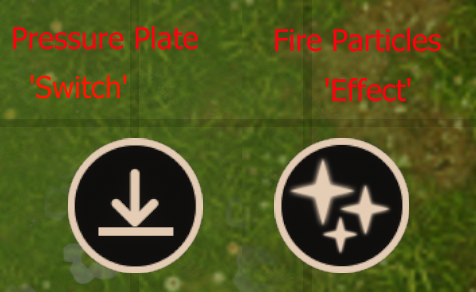
To setup traps, we'll be using the ‘Trigger' Object Property to setup a cause-and-effect system in Codex. Ensure you have an object to act as your switch (This can be a button, lever or pressure plate) and an object to act as your effect. Some good ideas for effects built-in are the ‘Fire Particles’ and ‘Acid Particles’ located in the ‘Auras’ folder.
¶ Pressure Plate Trap
 |
Step 1. Select your Switch and Effect and add them to your map. They don't have to be exactly where you want them yet, just make sure you have access to them. |
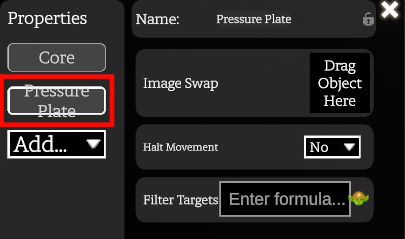 |
Step 2. Select your ‘Switch’ and ensure it has either ‘Pressure Plate’ or ‘Button’ properties. We will be using a Pressure Plate in this example. |
 |
Step 3. Select the ‘Add' drop-down, hover over ‘Triggers’ and select ‘Trigger’ |
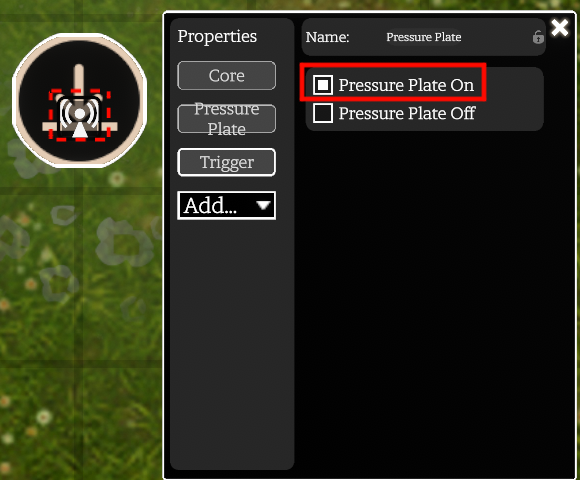 |
Step 4. Toggle the ‘Pressure Plate ON’ Option - This will add an icon to the Object called a ‘Signal’. This lets the object tell another object ‘Hey, something is happening to me!’ In our case; ‘I am being stepped on!’ |
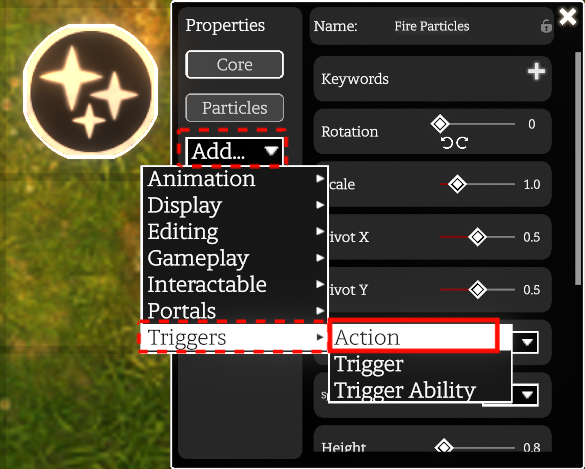 |
Step 5. Select your ‘Effect’ object, then the ‘Add’ drop down, hover over ‘Triggers’ and select ‘Action’ |
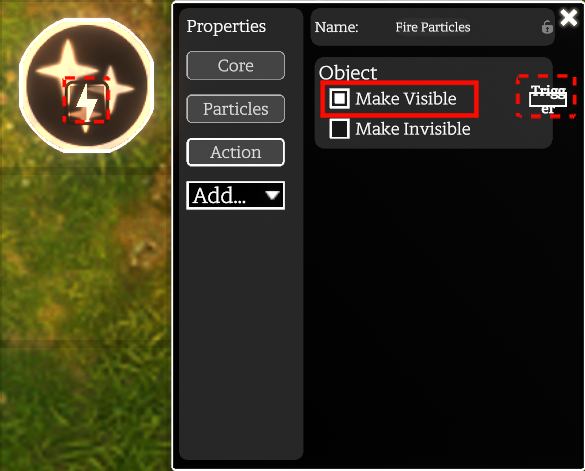 |
Step 6. Toggle the ‘Make Visible' option - This will add an icon to the object called an ‘Action’. This allows the object to do something upon receiving the associated signal.
|
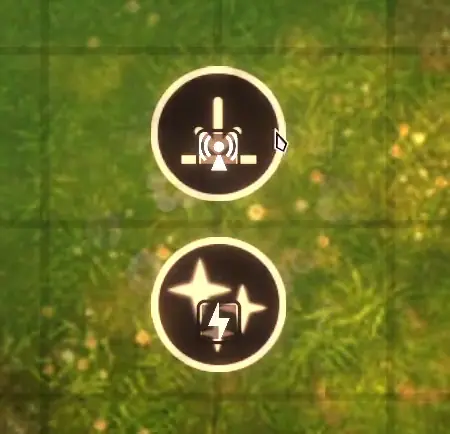 |
Step 7. Click and drag the ‘Signal' to the ‘Action’ and let go to ‘Link’ the 2 together.
|
|
Your trap is now complete! Ensure your effect is toggled to be invisible so the pressure plate can activate when walked over! |
|